Title: Ultimate Guide to Using the Motex E-101 Label Maker | Labeling Machine Manufacturers
Description:
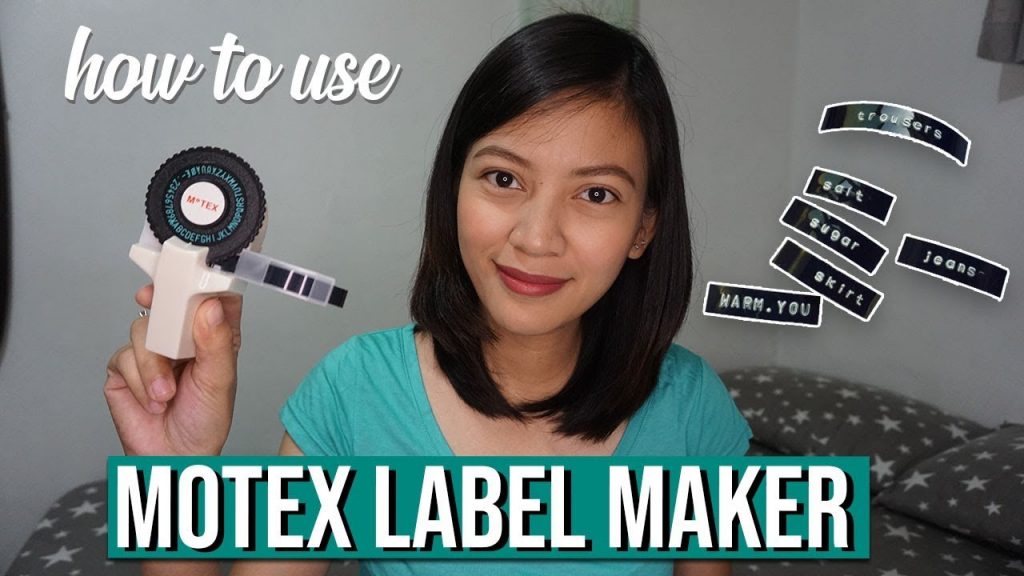
Welcome back to my Channel! In this video, I will be providing a comprehensive guide on how to effectively use the Motex E-101 Label Maker. As one of the leading labeling machine manufacturers, Motex offers a user-friendly and efficient label maker that can simplify your labeling tasks.
In the first section, I will introduce you to the Motex E-101 Label Maker, highlighting its key features and benefits. We will explore its versatility, ease of use, and the wide range of applications it can be used for.
Moving on, I will provide a step-by-step demonstration of the label maker’s operation. I will guide you through each function and button on the device, ensuring you understand how to navigate through the menu, adjust settings, and create professional-looking labels.
Furthermore, I will share some helpful tips and tricks to enhance your labeling experience with the Motex E-101 Label Maker. You will learn about different label types, font options, and design possibilities, allowing you to customize your labels to suit your specific needs.
Throughout the video, I will also highlight some interesting facts and lesser-known features of the Motex E-101 Label Maker that can further enhance your labeling capabilities. These insights will help you maximize efficiency and productivity in your labeling tasks.
To enhance your learning experience, I have included clear and concise subtitles at each step, ensuring you can easily follow along and refer back to specific instructions as needed.
If you find this video helpful, don’t forget to give it a thumbs up, subscribe to my Channel for more informative content, and share it with others who may benefit from learning how to use the Motex E-101 Label Maker.
Additional Tags and Keywords: labeling machine, label maker, Motex E-101, label printing, label design, label maker tutorial, label maker demonstration, label maker tips, professional labels, labeling efficiency, label customization
Hashtags: #LabelingMachine #MotexE101 #LabelMakerTutorial #LabelPrinting #LabelDesign
Title: A Comprehensive Guide to Mastering the Motex E-101 Label Maker
Introduction:
The Motex E-101 Label Maker is a powerful tool that allows you to create professional-looking labels effortlessly. Whether you need labels for organizing files, labeling containers, or enhancing your craft projects, this guide will provide you with step-by-step instructions on how to use the Motex E-101 Label Maker with ease and precision.
Step 1: Familiarize Yourself with the Label Maker
– Begin by unpacking the Motex E-101 Label Maker and familiarize yourself with its various components, including the device, tape cartridge, and cutting blade.
– Ensure that the label maker is loaded with fresh batteries or connected to a power source.
– Familiarize yourself with the buttons and features, such as the power button, character keys, and the function button.
Step 2: Inserting the Tape Cartridge
– Open the tape compartment located at the back of the label maker.
– Insert the tape cartridge, ensuring it fits snugly into the compartment.
– Close the tape compartment securely.
Step 3: Power On and Set the Language
– Press the power button to turn on the label maker.
– Use the function button to navigate through the menu options.
– Select your preferred language by following the on-screen prompts.
Step 4: Creating Your First Label
– Enter the desired text using the character keys on the label maker’s keypad.
– Use the function button to access additional characters, symbols, or formatting options.
– Utilize the arrow keys to position the cursor where you want to add or edit text.
– Preview your label by pressing the “Print Preview” button.
– Adjust font size, style, or alignment as needed.
Step 5: Printing and Cutting the Label
– Once you are satisfied with your label design, press the “Print” button.
– The label will be printed on the tape.
– Use the built-in cutter to separate the label from the remaining tape.
Step 6: Advanced Features and Customization Options
– Explore advanced features such as adding frames, underlining text, or changing font styles.
– Experiment with different tape colors and widths for varied labeling purposes.
– Utilize the label maker’s memory function to store frequently used labels for easy retrieval.
Step 7: Troubleshooting and Maintenance
– If the label maker displays an error message or fails to operate correctly, consult the user manual for troubleshooting tips.
– Ensure the label maker is kept clean and free from dust or debris.
– Change the tape cartridge when the label quality starts to deteriorate.
Conclusion:
The Motex E-101 Label Maker is a versatile tool that simplifies the process of creating professional labels for various purposes. By following the steps provided in this guide, you will be able to unleash the full potential of this label maker, and effortlessly organize your belongings or enhance your crafting projects with labeled precision.Labeling Machine
#Motex #E101 #Label #Maker
Related posts:
 “Revolutionary Car Tags & Bags Labeling Machine for Unmatched Efficiency”
 “Innovative Semi-Automatic Flat Oval Plastic Bottle Labeling Machine Available for Purchase”
 Master the Art of Round Bottle Labeling with the TB-190 Semi-Automatic Labeling Machine
 Master the Art of Labeling with a Semi-Automatic Machine: A Comprehensive Guide
 Innovative Labeling Machine for Food Jars: Enhancing Product Presentation and Efficiency
 Original Title: Efficient PET Bottle Sticker Labeling Machine Available for Purchase
 “Efficient Square Bottle Labeling Machine at an Unbeatable Price – Available Now!”
 “Efficient Tabletop Case Labeling Machine for Automated Sticker Labeling”
 “Enhance Product Appeal with Round Bottle Labeler – Exclusive Labeling Machine for Efficient Sales”
 “Innovative Semi-Automatic Labeling Machine: Elevate Your Product Packaging with Ninette Tube!”