In this YouTube video, we will guide you on how to use a full automatic packing machine and specifically focus on the process of changing a bag former. For new users, this task might seem challenging, but with the right guidance and understanding, you’ll be able to master it in no time.
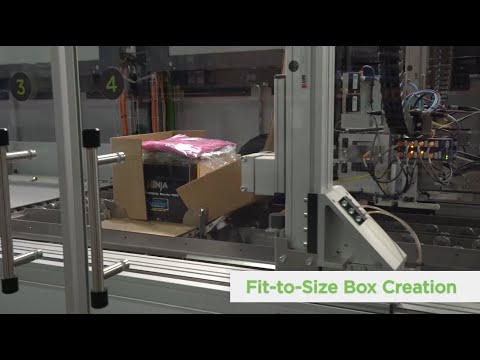
Using a full automatic packing machine can greatly improve efficiency and productivity in your packaging process. These machines are designed to handle various packaging tasks, including bag forming, filling, and sealing. However, one of the crucial aspects of operating these machines is the ability to change the bag former.
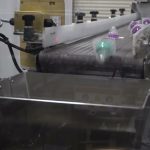
To begin, let’s understand what a bag former is and why it needs to be changed. The bag former is a key component of the packing machine that shapes the packaging material into the desired bag form. It determines the size, shape, and overall appearance of the bag. Changing the bag former allows you to adapt the machine to different packaging requirements, such as different bag sizes or shapes.
Now, let’s dive into the step-by-step process of changing the bag former:
1. Preparation: Before starting the process, ensure that the machine is switched off and disconnected from the power source. This is crucial for your safety and to avoid any damage to the machine.
2. Remove the existing bag former: Locate the bag former on the machine and carefully detach it by following the manufacturer’s instructions. This usually involves loosening screws or releasing clamps that hold the bag former in place. Take your time to ensure that all connections are properly released before attempting to remove the bag former.
3. Clean the machine: Once the bag former is removed, it’s a good practice to clean the area where it was installed. This will help maintain hygiene and prevent any residue from affecting the performance of the new bag former.
4. Select the new bag former: Depending on your packaging requirements, choose the appropriate bag former for the desired bag size and shape. Refer to the machine’s manual or consult with the manufacturer to ensure you select the correct bag former.
5. Install the new bag former: Carefully position the new bag former in place and secure it according to the manufacturer’s instructions. Ensure that all connections are properly tightened to avoid any movement during operation.
6. Test the machine: Once the new bag former is installed, reconnect the machine to the power source and switch it on. Run a test cycle to ensure that the bag former is properly aligned and functioning correctly. Make any necessary adjustments if needed.
Congratulations! You have successfully changed the bag former of your full automatic packing machine. With this skill, you can now adapt your machine to various packaging requirements and maximize its capabilities.
Remember, practice makes perfect. It may take a few tries to become comfortable with the process, but with time, you’ll be able to change the bag former effortlessly.
Check the coil packing solution with a leading manufacturer for professional solutions in the Automatic Packing System. Their expertise and experience will ensure that you have access to the best coil packing solutions tailored to your specific needs. Explore their range of products and services to enhance your packaging process today.
Remember, safety should always be a priority when operating any machinery. Follow the manufacturer’s instructions, wear appropriate protective gear, and seek professional assistance if needed.
So, what are you waiting for? Start exploring the world of full automatic packing machines and take your packaging process to the next level! Packing System
“Efficiently Operate a Full Automatic Packing Machine: Mastering Bag Former Change and Automatic Packing System”
Related posts:
 Revolutionary Desktop Shrink Wrapper: Unleashing Efficiency in Packing Systems
 “Innovative Food Packing System: Revolutionizing RPC Bebo’s 539sP Focus Packaging for Unmatched Distinction”
 “Top 3 Cutting-Edge Vacuum Sealers for Efficient Food Preservation in 2023”
 “Enhancing Food Freshness: Unveiling the Power of Modified Atmosphere Packaging for Optimal Preservation”
 “Revolutionize Your Storage: The Ultimate Flex Stack Pack System Unveiled!”
 Ultimate Vacuum Sealer Showdown: Chamber vs. External – Unveiling the Top Vacuum Packing Systems
 “Mastering Bag Sealing: Proven Techniques for Plastic Bags & Poly Tubing Packaging”
 Unique Packaging Solution for Infant Products – Combi DP 12 Drop Packing System for Sale
 Innovative Solutions for Streamlined Deli Packaging: Revolutionizing the Industrial Packing System.
 “Unveiling the Inner Workings of Mechanical Seals: Exploring the Stuffing Box and Efficient Packing Systems”