Check out the leading manufacturer for professional coil packing solutions here:
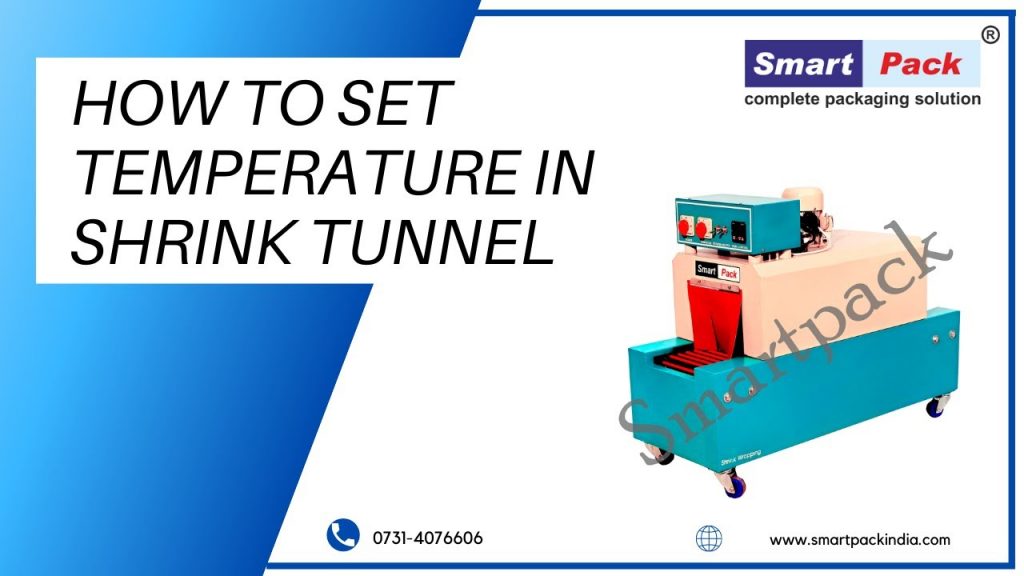
Are you struggling with setting the temperature in a shrink tunnel? Look no further! In this video, we will guide you step by step on how to effectively set the temperature in a shrink tunnel. Our service and repair series is designed to help you get the most out of your heat shrinking machine.
Heat Shrinking Machines are an essential tool for packaging and protecting various products. Whether you are in the manufacturing industry or a small business owner, understanding how to set the temperature in a shrink tunnel is crucial for achieving the best results.
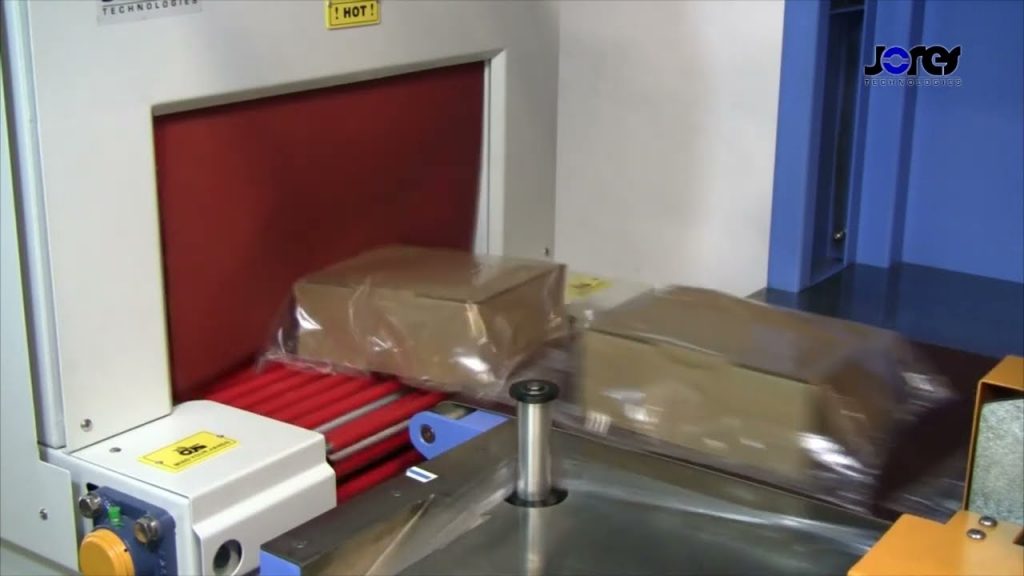
But first, let’s dive into a brief overview of Heat Shrinking Machines. These machines use heat to shrink packaging materials, such as shrink film or shrink wrap, tightly around a product or a bundle of products. This process not only provides a secure and protective covering but also enhances the overall appearance of the package.
Now, let’s get into the details of how to set the temperature in a shrink tunnel. Follow these simple steps to ensure optimal performance:
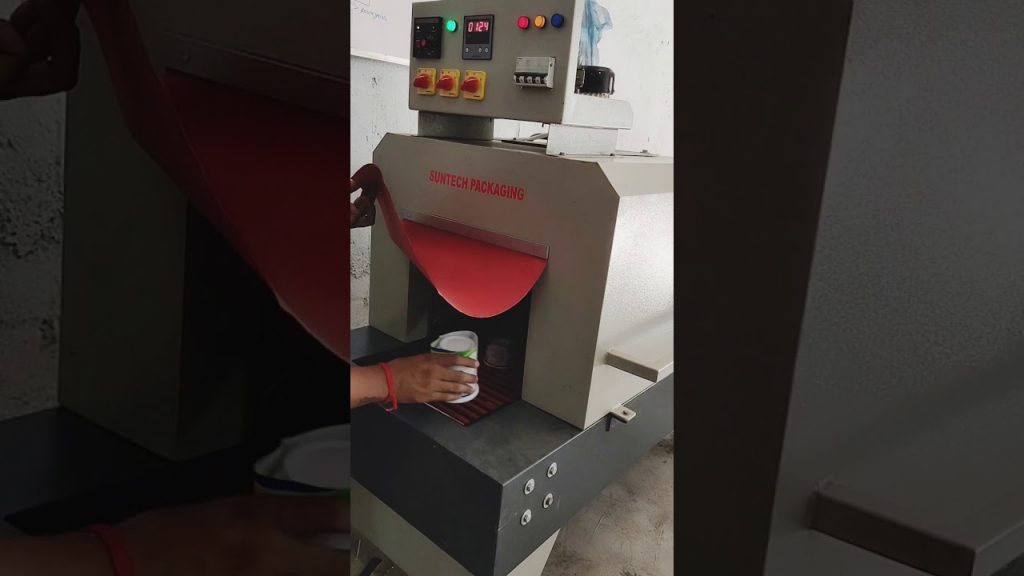
1. Familiarize Yourself with the Shrink Tunnel Controls: Take a moment to understand the different controls and buttons on your shrink tunnel. This will make it easier for you to navigate through the settings and make adjustments as needed.
2. Determine the Ideal Temperature: The ideal temperature for shrink wrapping varies depending on the type of packaging material and the products you are wrapping. It is essential to refer to the manufacturer’s guidelines or conduct some testing to determine the optimal temperature for your specific application.
3. Preheat the Shrink Tunnel: Before starting the actual shrink wrapping process, make sure to preheat the shrink tunnel to the desired temperature. This will ensure that the heat is evenly distributed and consistent throughout the tunnel.
4. Adjust the Temperature Settings: Once the shrink tunnel is preheated, you can begin adjusting the temperature settings. Most shrink tunnels allow you to set both the upper and lower temperature limits. Find the appropriate temperature range for your packaging material and set the upper and lower limits accordingly.
5. Monitor and Fine-tune the Temperature: As you start the shrink wrapping process, keep a close eye on the temperature gauge. It is normal for the temperature to fluctuate slightly during operation. If you notice any significant deviations, make small adjustments to maintain the desired temperature range.
By following these steps, you will be able to set the temperature in a shrink tunnel with ease and precision. Remember to always refer to the manufacturer’s guidelines and consult with experts if you encounter any difficulties.
In conclusion, understanding how to set the temperature in a shrink tunnel is vital for achieving optimal results with your heat shrinking machine. By properly setting the temperature, you can ensure that your packaging materials shrink uniformly and provide the necessary protection for your products. So, why wait? Start utilizing the full potential of your heat shrinking machine by mastering the temperature settings today!
Check out the leading manufacturer for professional coil packing solutions here: Shrinking Machine
“Mastering Temperature Settings for Efficient Shrink Tunnel Operation: A Comprehensive Guide to Servicing and Repairing Heat Shrinking Machines”
Related posts:
 Unique Shrink Tunnel Machines: Innovating Automatic Wrapping Solutions
 “Effortless Packaging with the Advanced Semi-Automatic Shrinking Solution”
 “High-Speed Shrink Wrapping Machine Supplier in India: Unmatched Efficiency for 120 to 240 bpm”
 Ultimate Heavy Duty Bus Bar Sleeve Shrinking Machine – Top Choice for Efficient Shrinkage | Call 9820778501
 Master the Art of Using a Semi-Automatic Bottle Cap Heat Shrinking Machine Efficiently
 Efficient Steel Pipe Shrinking Solution: Boosting Productivity and Ease with Top-Notch Machinery and Tools
 Maximize Efficiency: Mastering Heat Shrink Wrapping – Unveiling the Workings of Shrink Wrap Machines
 Innovative Semi-Automatic Shrink Wrapping Solution for Efficient Box Packaging
 “Efficient High-Speed Water Bottle Shrink Wrapping Machine for Quick Packaging – 9820778501”
 “Automated Bottle Shrink Wrapping: Efficiently Wrap Bottles with Cost-Effective Shrinking Machine”