Title: Mastering Labeling Machines: A Comprehensive Guide to Using a Label Maker
Description:
Introduction:
Welcome to our comprehensive guide on Labeling Machine Manufacturers and how to effectively use a label maker. In this video, I will showcase my new label maker that I featured in my Hema Stationary Haul Video. Join me as I demonstrate the step-by-step process of using this label maker, providing valuable insights and tips along the way.
Video Content:
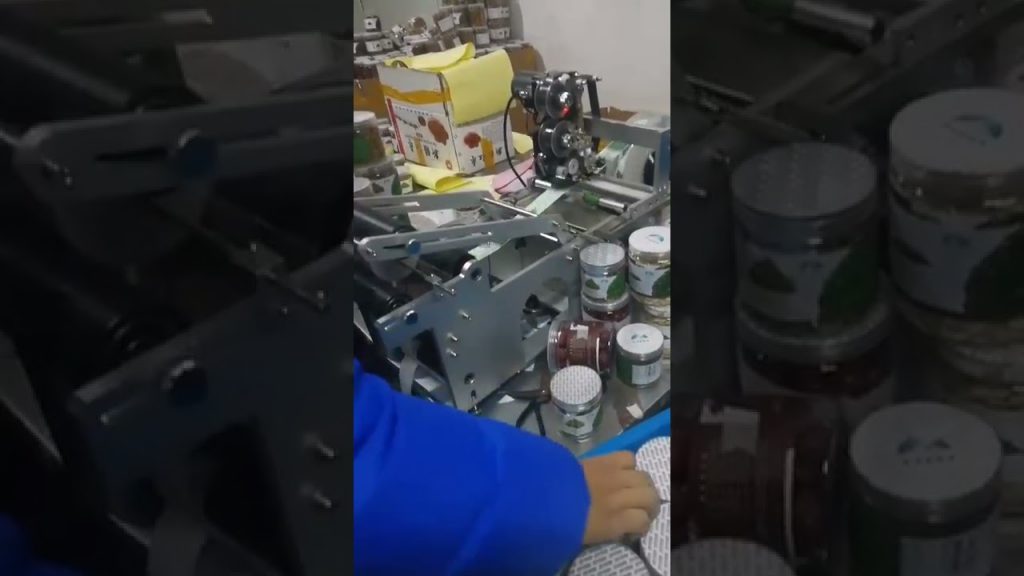
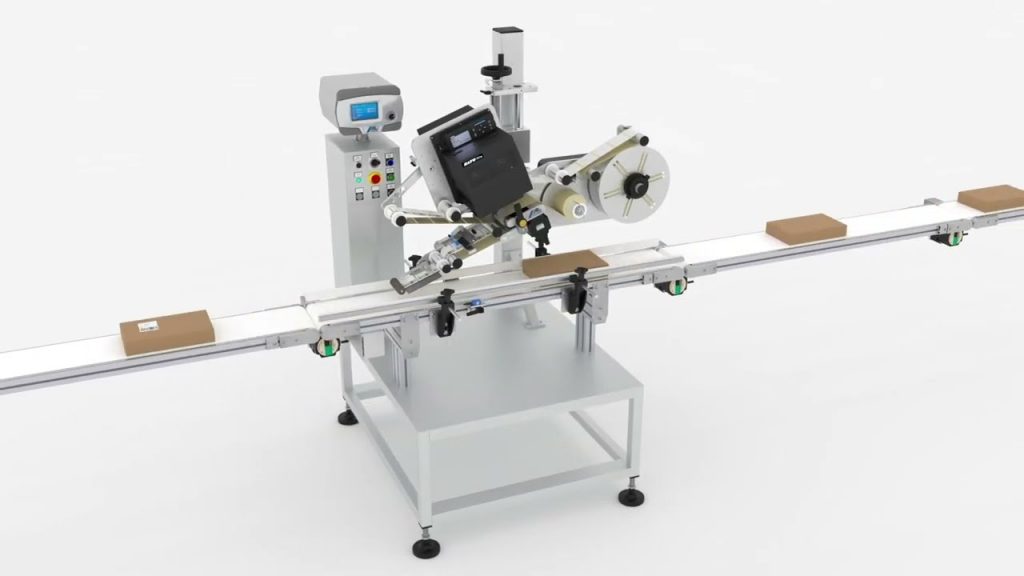
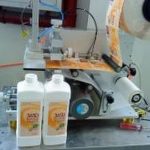
1. Understanding Labeling Machine Manufacturers:
– Explore the top labeling machine manufacturers in the industry, their expertise, and the range of products they offer.
– Discover the key features and benefits of different types of labeling machines, including their applications and customization options.
– Gain insights into the quality standards, durability, and reliability of these machines for long-term use.
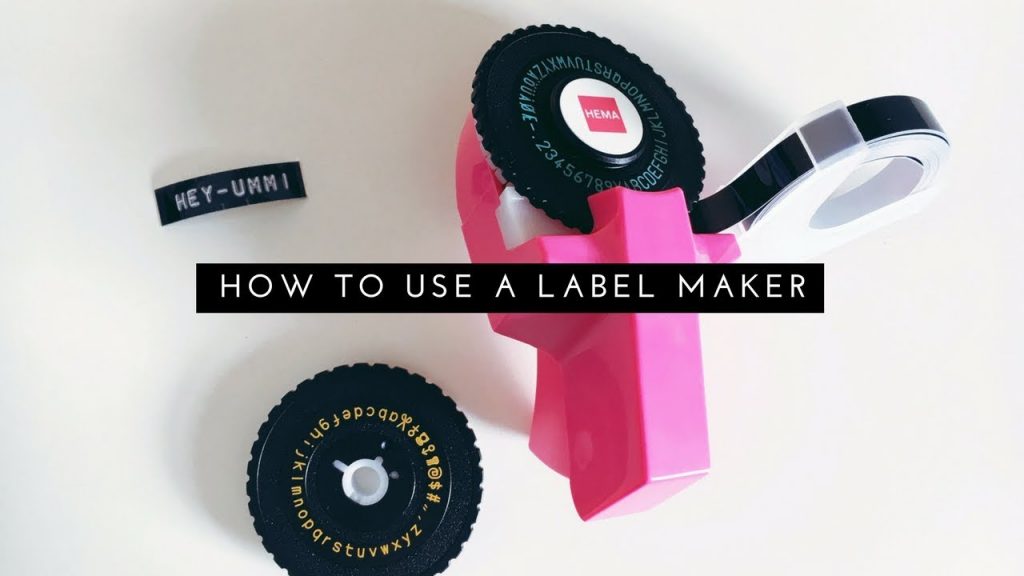
2. How to Use a Label Maker:
– Step-by-step tutorial on operating a label maker, from loading the label tape to creating and printing labels.
– Learn about the various label formats, fonts, and sizes available, enabling you to create professional-looking labels for any purpose.
– Discover advanced functions and features, such as barcode generation and label customization, to enhance the efficiency and versatility of your labeling tasks.
3. Unleashing the Potential of Your Label Maker:
– Explore creative ways to utilize your label maker in different settings, such as organizing your pantry, labeling files and folders, and creating personalized gifts.
– Discover time-saving tips and tricks to streamline your labeling process and achieve consistent, precise results.
– Unlock the full potential of your label maker by exploring additional accessories and label materials that can expand its capabilities.
Conclusion:
By the end of this video, you will have a comprehensive understanding of Labeling Machine Manufacturers and how to effectively use a label maker. Whether you are a professional looking to enhance your labeling tasks or a hobbyist aiming for creative labeling solutions, this guide will empower you to master your label maker and achieve professional-looking results.
Call to Action:
If you found this video helpful, please consider liking, subscribing, and sharing it with others who might benefit from it. Stay tuned for more informative videos on label makers and stationary hauls.
Additional Tags and Keywords: labeling machine, label maker, label tape, organizing, professional-looking labels, barcode generation, label customization, pantry organization, file organization, personalized gifts
Hashtags: #LabelingMachineManufacturers #LabelMaker #OrganizationSolutions #LabelingTips #CreativeLabeling
Title: How to Use a Label Maker: A Comprehensive Guide
Introduction:
Using a label maker can help you organize your belongings, files, and even enhance your creativity. However, if you’re new to label makers, the process might seem overwhelming. In this guide, we will walk you through step-by-step instructions on how to effectively use a label maker to simplify your life. Let’s get started!
Step 1: Familiarize Yourself with the Label Maker:
– Read the user manual: Begin by reading the instruction manual provided with your label maker. This will give you a better understanding of its features, functions, and capabilities.
– Explore the buttons and settings: Take a closer look at the label maker’s buttons, menus, and navigation options. Understanding these controls will make the labeling process easier.
Step 2: Prepare Your Label Maker:
– Install or replace batteries: Ensure that your label maker has sufficient power. Install fresh batteries or recharge the existing ones to prevent any interruptions during use.
– Load the label tape: Open the label maker and insert the appropriate label tape. Follow the instructions provided in the manual to load it correctly.
Step 3: Customize Your Labels:
– Choose the label type: Decide on the type of label you want to create. Whether it’s for folders, cables, storage boxes, or any other purpose, select the appropriate label type accordingly.
– Select font and style: Most label makers offer various font styles and sizes. Experiment with different options to find the style that suits your needs.
– Add symbols and graphics: If desired, you can include symbols or graphics to enhance your labels. Many label makers have built-in libraries to choose from.
Step 4: Create Your Labels:
– Type in the text: Use the label maker’s keypad or built-in keyboard to enter the desired text. Make sure to double-check for any spelling errors or typos.
– Adjust label settings: Depending on your preferences, adjust settings such as label length, margins, alignment, or any other formatting options available.
– Preview and print: Before printing your labels, utilize the preview function (if available) to ensure they appear as desired. Once satisfied, press the print button to generate your labels.
Step 5: Apply and Organize Your Labels:
– Peel and stick: Carefully peel the label from the backing and apply it to the desired surface. Ensure the surface is clean and dry for better adhesion.
– Organize systematically: Use your labeled items to create an organized system, whether it’s in your office, kitchen, or any other space. This will help you easily locate items when needed.
Conclusion:
Label makers are versatile tools that can simplify your life and boost your organization skills. By following these step-by-step instructions, you can confidently use a label maker to create professional-looking labels tailored to your needs. Start labeling today and experience the convenience and efficiency it brings to your everyday life.Labeling Machine
#Label #Maker
Related posts:
 Revolutionary Labeling System: Cutting-Edge Automated Labeling Machine for Unparalleled Efficiency
 Unique Label Applicator for Square, Hexagonal, and Round Bottles: Optimal Sticker Labeling Machine
 Unique Round Bottle Labeling Machine for Eye-catching Labels
 “Revolutionary Car Tags & Bags Labeling Machine for Unmatched Efficiency”
 “Innovative Semi-Automatic Flat Oval Plastic Bottle Labeling Machine Available for Purchase”
 “Revolutionary Labelling Innovation: Next-Level Wrap Around Machine for Superior Efficiency”
 “Revolutionary Automatic Label Applicator: Unparalleled Efficiency for Bottle Labeling”
 Master the Art of Round Bottle Labeling with the TB-190 Semi-Automatic Labeling Machine
 “Revolutionary Round Bottle Labeling Machine: Next-Gen Plastic Labeler for Sale (2022)”
 “Semi-Automatic Flat Surface Labeling Machine: Advanced Manual Labeler for Efficient Label Application”