Title: Ultimate Guide to Labeling Machine Reviews and SICK Sensor Usage | Step-by-Step Setup and Adjustment Tutorial
Description:
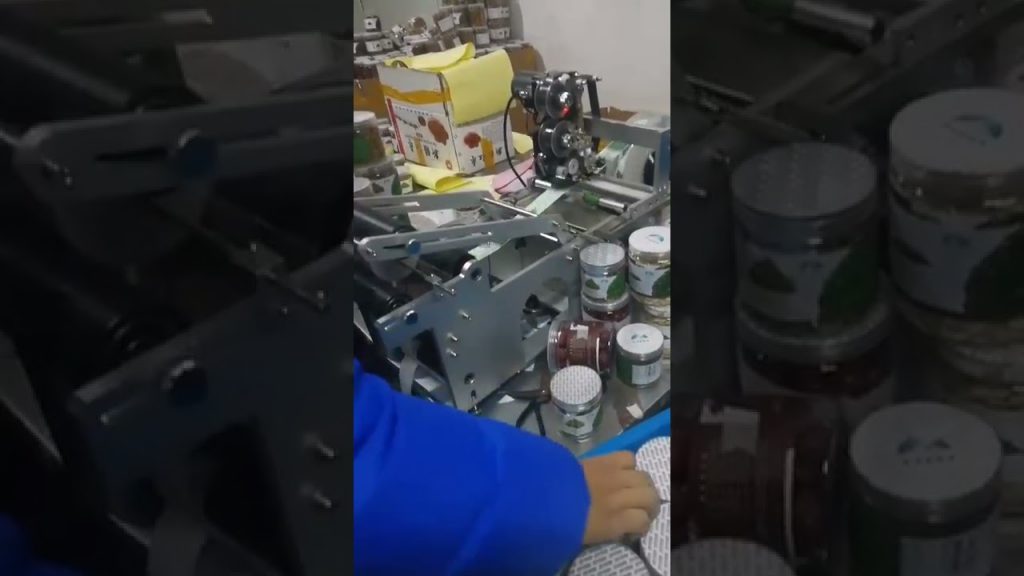
Welcome to our comprehensive guide on Labeling Machine Reviews and the effective usage of the SICK Sensor for automatic labeling machines. In this video, we will provide you with detailed instructions on how to set up, use, and adjust the SICK sensor for optimal performance.
Introduction:
In this highly informative video, we will delve into the world of labeling machines and focus on the SICK Sensor, a critical component that ensures accurate and efficient labeling operations. Whether you are new to labeling machines or seeking to enhance your existing knowledge, this guide is designed to equip you with valuable insights and practical tips.
Video Content:
1. Understanding Labeling Machine Reviews:
– Overview of different types and models of labeling machines
– Detailed analysis of the features, benefits, and drawbacks of each machine
– Expert reviews and recommendations to help you make an informed purchasing decision
2. How to Use the SICK Sensor for Automatic Labeling Machines:
– Step-by-step instructions on connecting and integrating the SICK Sensor into your labeling machine
– Explanation of the sensor’s functionality and its role in ensuring precise label placement
– Tips and tricks for optimizing sensor settings to achieve accurate and consistent labeling results
3. Step-by-Step Setup of the SICK Sensor:
– Detailed guidance on properly configuring the sensor for your specific labeling machine
– Calibration process to fine-tune the sensor’s sensitivity and responsiveness
– Troubleshooting common setup issues and error messages
4. Adjusting the SICK Sensor for Enhanced Performance:
– Techniques for adjusting the sensor to accommodate different label sizes, shapes, and materials
– Optimizing sensor settings to adapt to varying production speeds and line conditions
– Fine-tuning sensor parameters to minimize false positives and improve overall labeling accuracy
Call to Action:
If you found this guide helpful, please consider liking, subscribing, and sharing our channel to support us in creating more valuable content like this. Stay updated with the latest labeling machine reviews, tips, and tutorials by subscribing to our channel.
Additional Tags and Keywords: labeling machine, automatic labeling, SICK Sensor, label placement, setup tutorial, adjustment guide, labeling accuracy, labeling machine tips, labeling machine reviews
Hashtags: #LabelingMachineReviews #SICKSensorUsage #LabelingMachineTips #AutomaticLabeling #SetupTutorial #AdjustmentGuide
Title: Step-by-Step Guide on Utilizing the SICK Sensor for Automatic Labeling Machines
Introduction:
Automatic labeling machines are widely used in industries to streamline the labeling process and enhance efficiency. The integration of SICK Sensor technology further enhances the accuracy and reliability of these machines. This guide aims to provide a comprehensive step-by-step tutorial on effectively using the SICK Sensor for an automatic labeling machine.
Step 1: Familiarize Yourself with the SICK Sensor
Before diving into the setup process, it is crucial to understand the fundamentals of the SICK Sensor. Read the sensor’s user manual thoroughly to grasp its functionalities, specifications, and recommended usage guidelines.
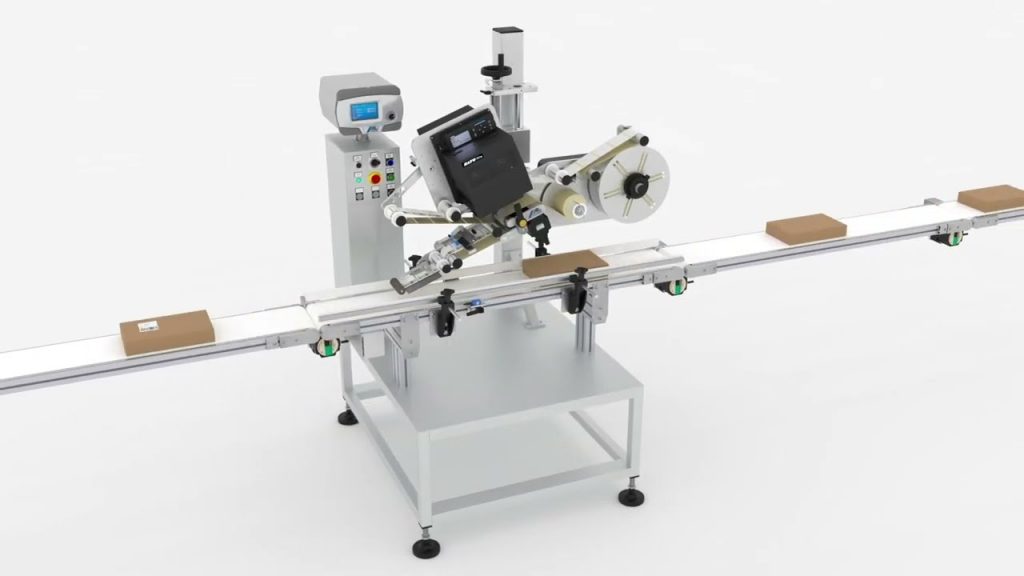
Step 2: Identify the Ideal Mounting Position
Choose the optimal mounting position for the SICK Sensor on the automatic labeling machine. The placement should enable the sensor to capture accurate data and provide real-time feedback for label detection and positioning.
Step 3: Connect the SICK Sensor
Ensure that the automatic labeling machine is powered off before connecting the SICK Sensor. Identify the appropriate wiring connections based on the machine’s specifications and connect the sensor accordingly.
Step 4: Configure Sensor Settings
Access the SICK Sensor’s configuration interface and adjust the settings to align with your labeling machine’s requirements. This includes setting the appropriate detection range, sensitivity, and other parameters that suit your specific labeling needs.
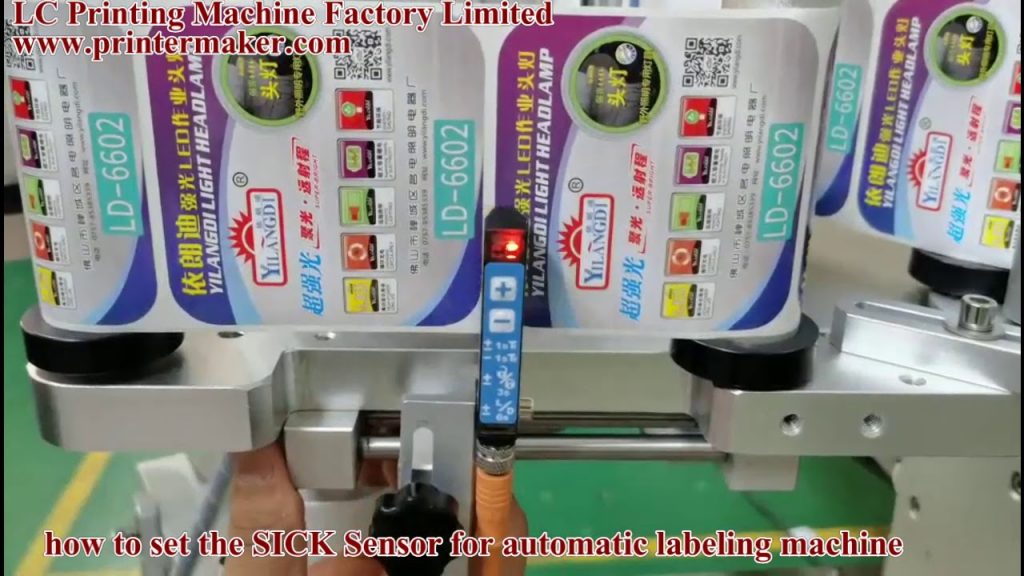
Step 5: Calibration and Alignment
Calibrate the SICK Sensor by referring to the user manual. This involves aligning the sensor with the labeling machine’s conveyor or product path to accurately detect the presence of labels. Ensure that the alignment is precise to prevent any false readings or mislabeling.
Step 6: Integration with Labeling Machine
Depending on the labeling machine’s design, you may need to adjust the machine’s software or programming to integrate the SICK Sensor. Consult the machine’s manual or contact the manufacturer for guidance on integrating the sensor seamlessly.
Step 7: Testing and Fine-Tuning
With the SICK Sensor properly integrated, conduct thorough testing to ensure accurate label detection and positioning. Adjust the sensor’s settings if necessary, such as sensitivity levels, to optimize performance and minimize errors during the labeling process.
Step 8: Maintenance and Regular Inspection
To guarantee consistent performance, schedule regular maintenance and inspection of the SICK Sensor. Clean the sensor periodically and inspect for any signs of damage or wear. Address any issues promptly to prevent disruptions in the labeling process.
Conclusion:
By following this step-by-step guide, you can effectively utilize the SICK Sensor for your automatic labeling machine. Incorporating this advanced technology not only enhances accuracy and productivity but also ensures reliable and error-free label application. Remember to refer to the user manuals of both the sensor and the labeling machine for detailed instructions and specific requirements.Labeling Machine
#SICK #Sensor #automatic #labeling #machine
Related posts:
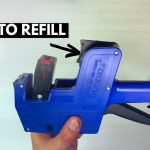 Paano Palitan ang Laman ng Labeler (MX5500) sa Presyong Pang-Etiketa para Kumita ng Atensyon
 “Efficient Labeling Machine Review: Boost Productivity with Zap Labeler’s Innovative Technology”
 “Ultimate Guide: Efficient Setup for Labeling Machines – Boost Productivity with Germark’s Expert Tips!”
 “Efficient Automated Bottle Filling, Capping, and Labeling Machine for Seamless Product Packaging”
 Innovative System Review: Next-Level Shrink Sleeve Label Applicator Maximizing Efficiency & Precision
 “Unveiling the Ultimate Commercial Label Printer: A Comprehensive Review and Buying Guide for 2022”
 “Ultimate Label Maker Review: Unleashing the Power of the Portable Printer Machine for Labeling Perfection”
 “Get Noticed with our Discounted High-Speed Bottle Labeling Machine!”
 “Innovative Inkjet Batch Coding Semi-Auto Bottle Sticker Labeling Machine: Enhanced Efficiency for Bottle Labeling”
 Revolutionary Labeling Machine for Vials, Ampoules, and Syringes: Unparalleled Efficiency and Innovation