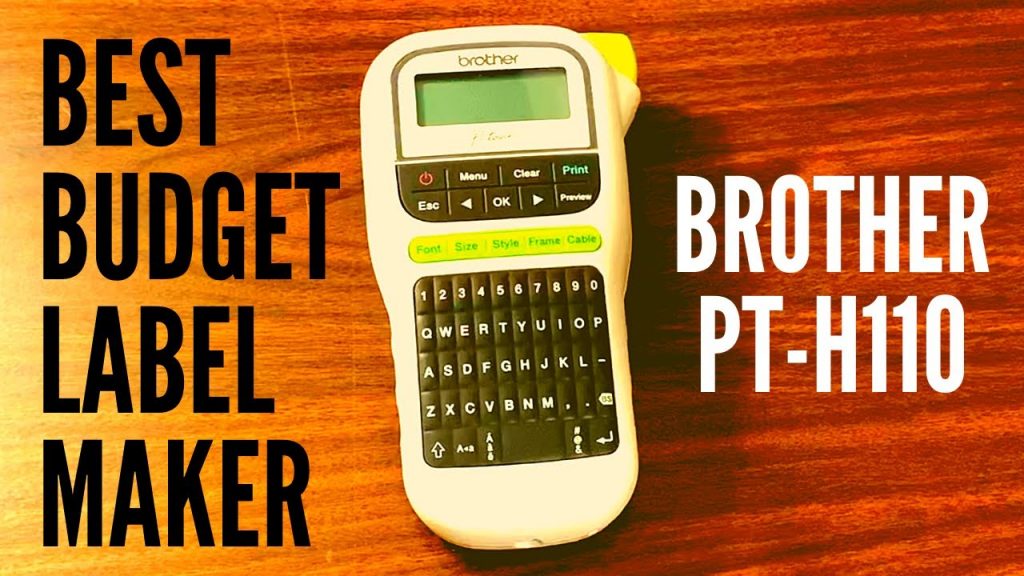
Title: Brother P-Touch PT-H110 Label Maker: Unboxing, Review, and Setup Guide
Description:
In this comprehensive video review, we present the Brother P-Touch PT-H110 Label Maker, showcasing its unboxing process, providing a detailed review, and guiding you on how to set it up. If you’re looking for a reliable labeling machine, the Brother PT-H110 is a fantastic choice. Purchase it conveniently from Amazon using this link: [insert Amazon affiliate link: https://amzn.to/2Hilrc7]
Introduction:
Welcome to this in-depth review of the Brother P-Touch PT-H110 Label Maker. Whether you need to organize your home, office, or personal belongings, this label maker is a versatile solution that offers unmatched convenience and efficiency. Join us as we unbox the PT-H110, delve into its features, and explore how to set it up seamlessly.
Video Content:
1. Unboxing: Watch as we unveil the Brother PT-H110 Label Maker and showcase its packaging, contents, and accessories. Get a first look at this sleek and compact device designed to simplify your labeling tasks.
2. Review: Discover the outstanding features and functionalities of the PT-H110 Label Maker. We discuss its ergonomic design, intuitive interface, and impressive printing capabilities. Learn about the various fonts, symbols, and styles it offers, ensuring personalized and professional labels for every need.
3. Setup Guide: Follow our step-by-step instructions on how to set up your Brother PT-H110 Label Maker effortlessly. From loading the label tape to customizing your labels, we guide you through the entire process, ensuring you’re up and running in no time.
Call to Action:
If you found this Brother PT-H110 Label Maker review helpful, be sure to hit the like button and subscribe to our channel for more informative content. Share this video with others who might benefit from a reliable labeling solution. Don’t forget to check out the product on Amazon using our affiliate link: [insert Amazon affiliate link: https://amzn.to/2Hilrc7]
Additional Tags and Keywords:
Labeling Machine Reviews, Brother P-Touch PT-H110 Label Maker, Label Maker Unboxing, Label Maker Review, Label Maker Setup Guide, Brother Label Maker PT-H110, PT-H110 Label Maker, Brother Label Maker, Label Maker Tutorial, Label Maker Demonstration, Organizational Tools, Labeling Solutions.
Hashtags:
#BrotherPTH110 #LabelMakerReview #UnboxingAndSetup #LabelingMachine #OrganizationalTools
Title: Brother P-Touch PT-H110 Label Maker: Unboxing, Review, and Setup Guide
Introduction:
The Brother P-Touch PT-H110 Label Maker is a versatile and efficient device that helps you organize your home or office items with ease. In this article, we will guide you through the unboxing process, provide an in-depth review, and help you set up the label maker for immediate use.
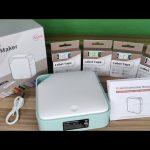
1. Unboxing:
When you receive your Brother P-Touch PT-H110 Label Maker, you can expect a neatly packaged box containing the following items:
– Brother P-Touch PT-H110 Label Maker
– 1 Starter Tape (0.47″ x 13.1′)
– User Manual
– Warranty Card (if applicable)
– Power Adapter or Batteries (depending on the model)
2. Review:
The Brother P-Touch PT-H110 Label Maker is designed with user-friendly features that make labeling tasks simple and efficient. Here are some key aspects we found noteworthy during our review:
a. Design and Build Quality:
The label maker showcases a compact and lightweight design, making it easy to handle and carry around. The durable build ensures longevity, even with frequent use.
b. Display and Navigation:
Equipped with a QWERTY-style keyboard and a clear LCD screen, the PT-H110 offers intuitive navigation and text input. The screen displays up to 15 characters at a time, allowing you to preview your labels before printing.
c. Printing Capabilities:
The label maker supports various font styles, sizes, and symbols, enabling you to create customized labels for different purposes. It also offers options for bold, italics, underlining, and framing, enhancing the visual appeal of your labels.
d. Tape and Tape Cutter:
The PT-H110 uses laminated TZe tape, which is durable, water-resistant, and suitable for both indoor and outdoor use. The label maker features an automatic tape cutter, ensuring clean and precise label edges without the need for scissors or manual trimming.
3. How to Set It Up:
Follow these steps to set up your Brother P-Touch PT-H110 Label Maker:
a. Power Source:
– If your label maker is battery-powered, insert the required batteries into the battery compartment.
– If your model comes with a power adapter, connect it to the appropriate power source.
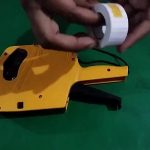
b. Label Tape Installation:
– Open the back cover of the label maker.
– Insert the tape cassette firmly into the tape compartment until it clicks into place.
– Close the back cover.
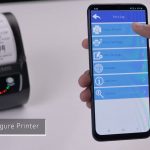
c. Power On and Initial Setup:
– Press the power button to turn on the label maker.
– Set the date, time, and language as prompted on the screen.
d. Start Labeling:
– Begin creating labels by entering text using the keyboard.
– Customize the label format, font, style, and size as desired.
– Preview the label on the display and press the print button to print it.
– Use the automatic tape cutter to separate the label from the tape.
Conclusion:
The Brother P-Touch PT-H110 Label Maker offers a reliable and user-friendly solution for your labeling needs. With its compact design, versatile features, and easy setup process, this label maker is an excellent addition to any home or office organization system. Unbox, review, and set up your PT-H110 today, and experience the convenience of creating professional-looking labels effortlessly.Labeling Machine
#Brother #PTouch #PTH110 #Label #Maker #UNBOXING #REVIEW #SET
Related posts:
 Maximize Efficiency with our Innovative Labeling Solutions
 कीमत लेबलर मशीन का पूर्ण काम और समझाने का विवरण: मात्र 20 शब्दों में असली शीर्षक
 “Efficient Labeling Machine for Easy Organization – Unbiased Review”
 “Pocket-Sized Mobile Barcode Printer for Versatile Labeling Needs”
 “Efficient and Innovative Sticker Labeling Solution for Round Bottles”
 “Revolutionary Bluetooth Label Printer: Unleash Efficiency with the Game-Changing D1600 Portable Rechargeable Machine”
 “Revolutionary Round Bottle Labeling Machine: Unparalleled Performance and Efficiency Unveiled!”
 “Innovative Label Printing Solution: Unleash Efficiency with the Toshiba B-FV4 Printer and Labeling Machine Manufacturers”
 “Revolutionary High-Speed Bottle Labeling Machine: Streamlined P250 for Pharmaceutical Specifications”
 “Master the Art of Efficient Round Bottle Labeling with ZS-TB260R: A Step-by-Step Guide”