Title: Mastering Labeling Efficiency with the Semi-Automatic Labeling Machine | Ultimate Guide
Description:
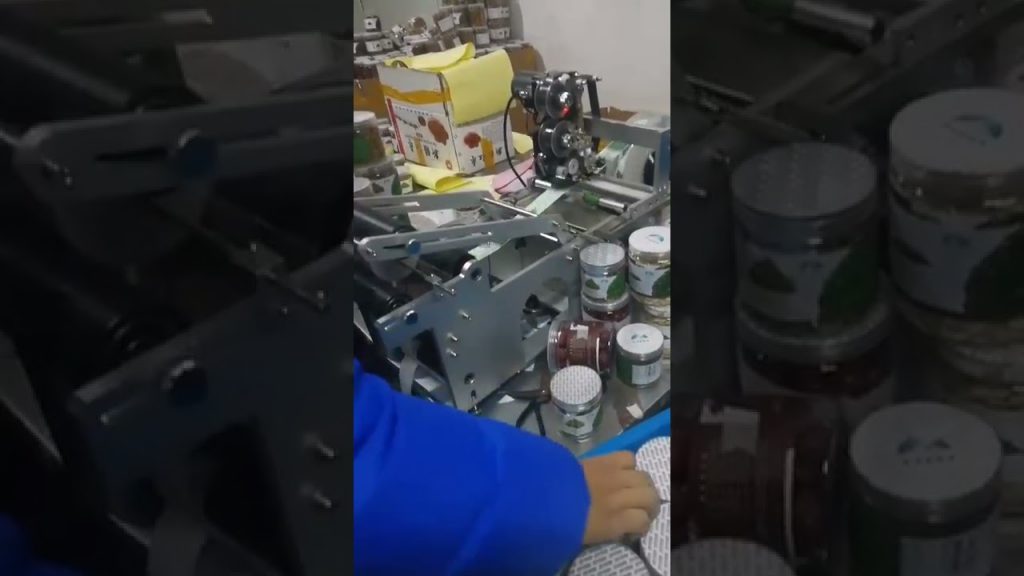
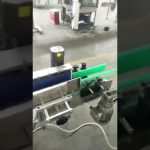
Welcome to the ultimate guide on the Semi-Automatic Labeling Machine! In this comprehensive video, we delve into the world of label application and poster speed, unveiling the incredible capabilities of this cutting-edge technology. With a theoretical speed range of 10 to 30 parts per minute (subject to product, label size, and operation level), this machine is poised to revolutionize your labeling process.
In this video, we provide step-by-step instructions on how to operate the Semi-Automatic Labeling Machine efficiently, ensuring optimal results. From understanding the applicability of this machine to various industries to mastering the art of label and poster placement, we cover it all.
Key Highlights and Takeaways:
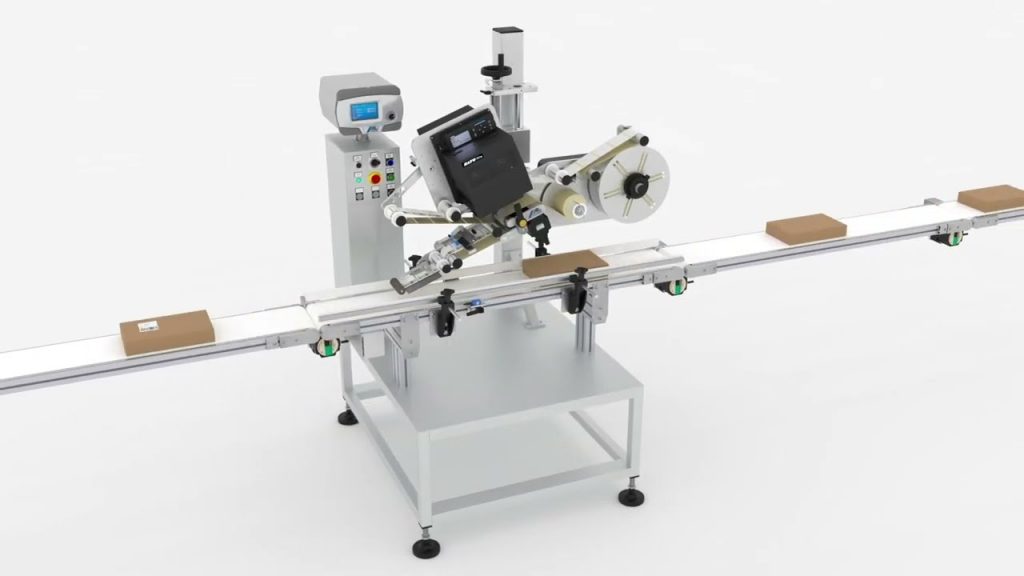
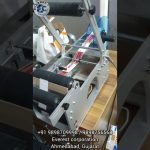
1. Introduction to the Semi-Automatic Labeling Machine: Discover the features and benefits that make this machine an indispensable asset in the labeling industry.
2. Unleashing Efficiency: Learn how to maximize the labeling speed while maintaining precision and accuracy.
3. Labeling Techniques: Explore different labeling techniques and strategies to enhance productivity and minimize errors.
4. The Power of Poster Speed: Gain insights into the factors that influence poster speed and how to optimize it for your specific requirements.
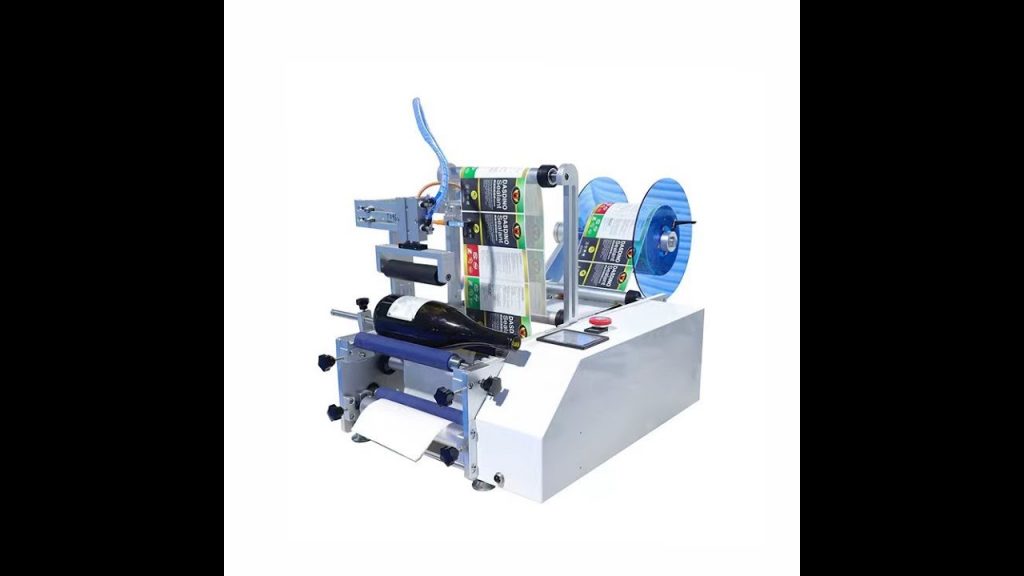
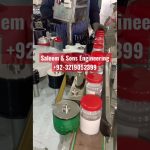
5. Adapting to Various Product Types: Understand the versatility of the Semi-Automatic Labeling Machine and its capability to handle a wide range of products.
6. Troubleshooting and Maintenance: Get expert tips on troubleshooting common issues and performing routine maintenance to ensure smooth operations.
Join our community of label enthusiasts by liking, subscribing, and sharing this video with your peers. Together, we can unlock the true potential of the Semi-Automatic Labeling Machine.
Additional Tags and Keywords: Semi-Automatic Labeling Machine, label application, poster speed, labeling efficiency, label placement, label technique, productivity optimization, troubleshooting, maintenance, labeling industry, label enthusiasts.
Hashtags: #LabelingMachine #LabelingEfficiency #SemiAutomaticLabeling #LabelingTechniques #LabelingTips #ProductivityOptimization #Troubleshooting #Maintenance
To create a tilter for a semi-automatic labeling machine, you will need the following materials and tools:
Materials:
1. Sturdy metal frame
2. Electric motor (with speed control)
3. Belts or chains
4. Pulleys
5. Bearings
6. Power switch
7. Wiring and connectors
8. Label holder or dispenser
9. Label applicator
10. Sensors (optional)
Tools:
1. Drill
2. Screwdriver
3. Wrenches
4. Wire cutter/stripper
5. Soldering iron (if required)
6. Measuring tape
7. Level
Now, let’s proceed with the steps to create the tilter for the semi-automatic labeling machine:
1. Design and build the frame: Use the sturdy metal frame to create a stable structure to support the tilter mechanism. Ensure that it is level and rigid enough to handle the weight and movement of the labeling machine.
2. Mount the electric motor: Determine the appropriate position to mount the electric motor on the frame. Use the drill, screws, and appropriate brackets to secure it in place. Ensure that the motor’s shaft is aligned with the tilter mechanism.
3. Install belts or chains: Attach belts or chains to the motor’s shaft and the tilter mechanism. Use appropriate pulleys and tensioners to ensure smooth movement and proper alignment.
4. Connect the power switch: Install the power switch on the frame, close to the motor. Connect the wiring from the switch to the electric motor, following the manufacturer’s instructions. Ensure proper insulation and grounding.
5. Add label holder or dispenser: Attach a label holder or dispenser to the tilter mechanism. This will hold and dispense the labels onto the products. Ensure that it is securely mounted and aligned with the labeling area.
6. Mount the label applicator: Attach the label applicator to the tilter mechanism, in a position where it can accurately apply the labels onto the products. Ensure that it is properly aligned and calibrated for precise application.
7. Install sensors (optional): If desired, install sensors to detect the presence of products or labels. These sensors can be connected to the motor or the labeling mechanism to automate the tilter process.
8. Test the tilter: Before using the labeling machine, test the tilter mechanism to ensure smooth and accurate movement. Adjust the speed control on the electric motor to achieve the desired labeling speed.
9. Calibrate and adjust: Fine-tune the tilter mechanism, label applicator, and any installed sensors to ensure proper labeling alignment, accuracy, and consistency.
Note: This guide provides a general overview of creating a tilter for a semi-automatic labeling machine. It is essential to refer to the specific machine’s manual and consult with professionals or engineers if needed. Safety precautions should be followed while working with electrical components and machinery.Labeling Machine
#Semiautomatic #labeling #machinehow #label
Related posts:
 “Revolutionary Automatic Label Applicator: Unparalleled Efficiency for Bottle Labeling”
 “Revolutionary Round Bottle Labeling Machine: Next-Gen Plastic Labeler for Sale (2022)”
 Semi-Automatic Labeling Machine for Efficient Labeling Tasks in the USA (2018)
 “Efficient and Innovative Automatic Bottle Labeling Machine for the Chinese Market”
 “Innovative Round Bottle Labeling Solution: Boost Productivity with Cutting-Edge Labeling Machine”
 Revolutionary Sticker Labeling Machine for Diverse Bottle Types and Oil Containers
 “Revolutionary Labeling Machine: Unparalleled Innovation in Industrial Labeling”
 Unique Labeling Machine for Round Bottles and Jars: Unleashing Efficiency with Semi-Automatic Precision
 “Revolutionize Jar Labeling with the Ultimate Sticker Machine: Unmatched Efficiency for Perfectly Labeled Jars!”
 “Revolutionize Your Garden with Everlasting Plant Labels: Discover the Best Tool for Unfading Labeling!”