Title: How to Install HJ-10 Joints on Material Handling Equipment | Flexpipe Tutorial
Description:
Welcome to the Flexpipe tutorial on how to install HJ-10 joints on material handling equipment. In this video, we’ll show you step-by-step how to properly install these joints onto your material handling equipment to ensure maximum durability and reliability.
At Flexpipe, we specialize in providing custom modular material handling systems that are designed to meet your specific needs. Our HJ-10 joints are an essential component of our systems, providing a secure and sturdy connection between different parts of your equipment.
In this tutorial, we’ll cover everything you need to know to successfully install these joints, including the tools you’ll need, the proper techniques for connecting the joints, and important safety tips to keep in mind.
Our tutorial is designed for both beginners and experienced users, so no matter your level of expertise, you’ll be able to follow along and learn something new. We’ll also provide plenty of helpful tips and tricks to make the installation process as easy and efficient as possible.
So if you’re ready to learn how to install HJ-10 joints on your material handling equipment, be sure to watch this tutorial from Flexpipe. And if you’re interested in learning more about our custom modular material handling systems, be sure to visit our website at https://www.flexpipeinc.com/us_en/modular-system/.
Don’t forget to like, subscribe, and share this video with your friends and colleagues, and use the hashtags #FlexpipeTutorial and #MaterialHandlingEquipment to help us spread the word. Thanks for watching!
Installing HJ-10 joints on material handling equipment is a straightforward process that can be completed with a few simple steps. Here’s a step-by-step guide on how to install HJ-10 joints on material handling equipment:
Step 1: Gather the necessary tools and materials
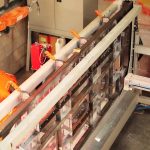
Before you begin the installation process, make sure you have all the necessary tools and materials. You will need HJ-10 joints, flex pipes, and a set of Allen keys.
Step 2: Determine the location of the joints
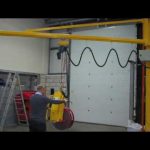
Next, you need to decide on the location of the joints. The HJ-10 joints can be installed anywhere along the flex pipe. Make sure that the joints are placed in a way that will allow for maximum flexibility and movement of the material handling equipment.
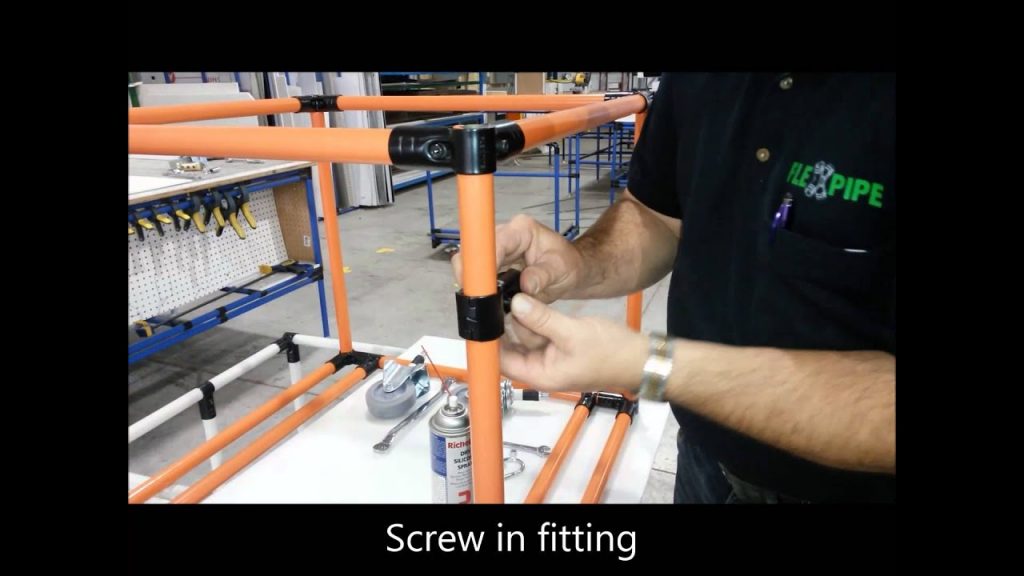
Step 3: Insert the flex pipe into the joints
Once you have determined the location of the joints, insert the flex pipe into the joints. Make sure that the flex pipe is inserted all the way into the joint. Tighten the set screws on the joint using the Allen key to secure the flex pipe in place.
Step 4: Connect the joints
After you have inserted the flex pipe into the joints, connect the joints together. Align the joints together and tighten the set screws on both joints using the Allen key. Make sure that the joints are securely fastened together.
Step 5: Test the joints
Finally, test the joints to make sure that they are working properly. Move the material handling equipment around to check for any issues or problems. If everything is working correctly, you have successfully installed HJ-10 joints on your material handling equipment.
In conclusion, installing HJ-10 joints on material handling equipment is a simple process that can be completed with a few basic tools and materials. By following the steps outlined in this guide, you can easily install HJ-10 joints and ensure that your material handling equipment is flexible and functional. handling equipment
#install #HJ10 #joints #material #handling #equipment #Flexpipe
Related posts:
 “Efficient Pallet Wrapping Solution with Rotary Arm Technology for Enhanced Productivity”
 “Efficient and Reliable Pallet Wrapping Solution for Streamlined Operations”
 “Efficient Solutions for Streamlining Material Handling Processes”
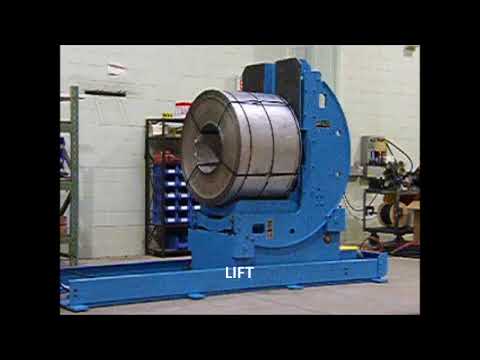
 “Innovative Coil & Roll Upender Transfer Car: Streamlined Lifting Equipment for Enhanced Productivity”
 “Revolutionize Your Packaging Process with an Advanced Wrapping Solution”
 “Revolutionizing Animal Handling Equipment Production for Safer Farms”
 Revolutionary Steel Coil Rotator for Enhanced Efficiency and Safety
 “Revolutionize Coil Handling with 20,000lb x 56″W Upender”
 “Rapid MHE Service Available 24/7: Your Top Choice for Material Handling Equipment Support”
 Efficient Material Handling Solutions for Roll Transportation and Management