Title: Mastering Labeling Machines: Price Tag Labeller, Rate Printer, and 8-Digit Unboxing Guide
Description:
Welcome to our comprehensive video guide on labeling machines! In this informative and engaging video, we will explore everything you need to know about labeling machines, with a focus on the price gun, price tag labeller, rate printer, and 8-digit unboxing.
Introduction:
Join us as we unveil the ultimate labeling machine solution for your business needs. Whether you’re a retail store owner, a warehouse manager, or a small business entrepreneur, this video will equip you with the necessary knowledge to make an informed decision when it comes to purchasing and utilizing labeling machines.
Video Content:
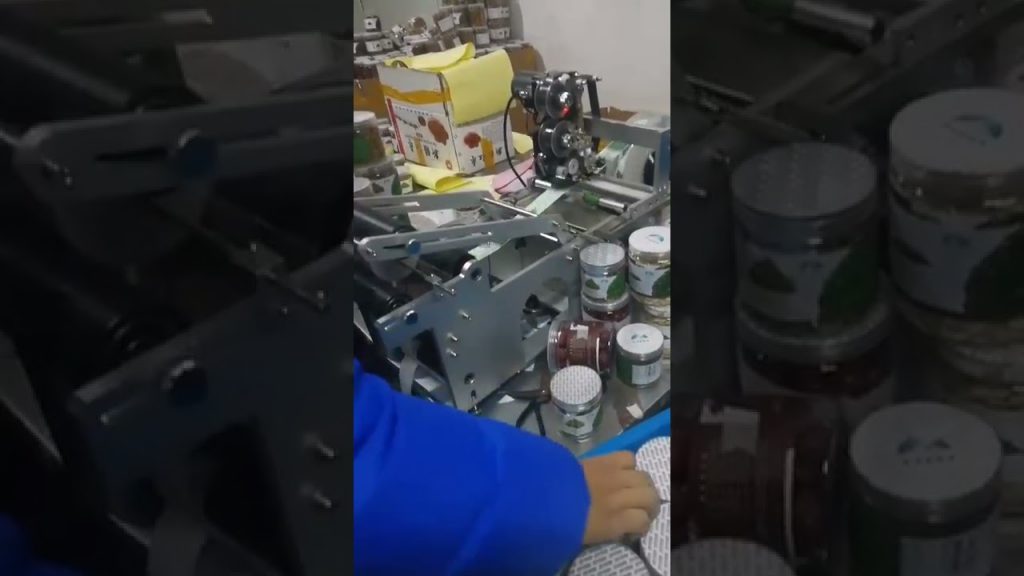
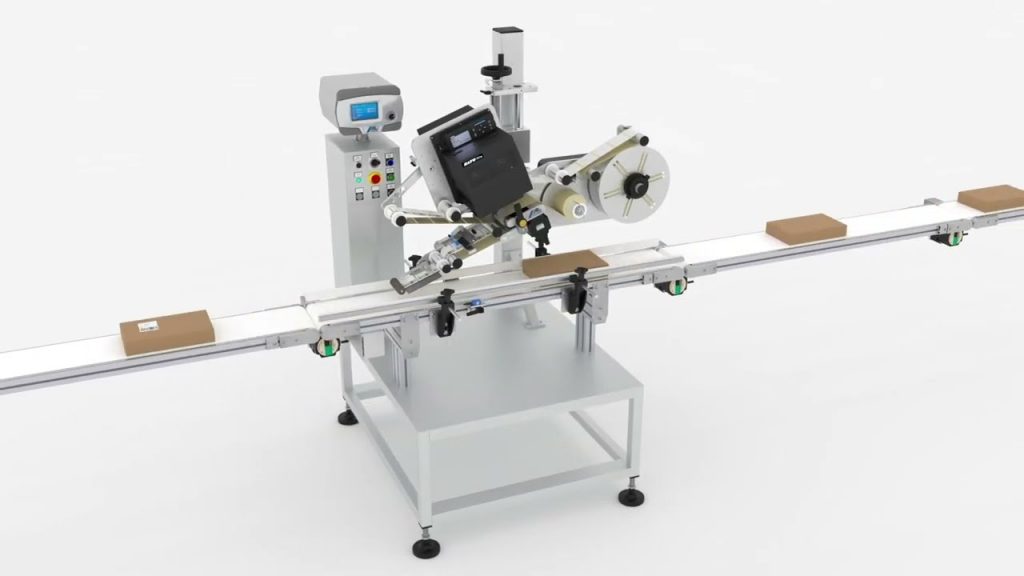
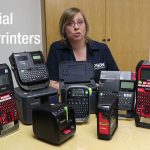
1. Understanding Labeling Machines: We begin by providing a detailed overview of labeling machines, highlighting their importance in streamlining operations and enhancing efficiency. Discover the various types of labeling machines available in the market and their unique features.
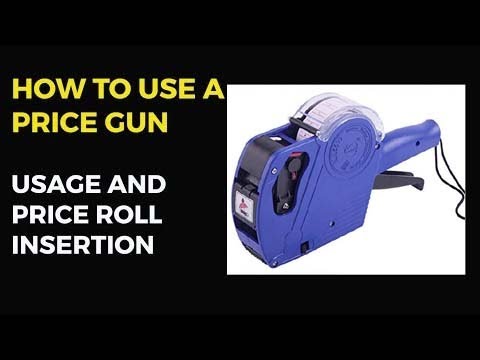
2. Price Gun: Dive into the world of price guns and learn how to effectively use them for labeling products with accurate pricing information. Explore the benefits of price guns in maintaining consistency and avoiding pricing errors.
3. Price Tag Labeller: Uncover the functionalities of a price tag labeller and how it simplifies the process of labeling products with price tags. Gain insights into the different types of price tag labellers and their suitability for various business setups.
4. Rate Printer: Discover the versatility of rate printers and their ability to print customized labels with various information, such as rates, discounts, and special offers. Learn the step-by-step process of operating a rate printer for efficient labeling.
5. 8-Digit Unboxing: Get hands-on with the 8-digit unboxing process, an essential step in setting up and utilizing labeling machines. We provide a detailed demonstration on how to unbox and assemble your labeling machine, ensuring a smooth operation from the start.
Call to Action:
If you found this video helpful, don’t forget to hit the like button, subscribe to our channel for more informative content, and share this video with others who might benefit from it. Stay tuned for more exciting videos on labeling machines and other business solutions!
Additional Tags and Keywords:
Labeling machines, price gun, price tag labeller, rate printer, 8-digit unboxing, labeling machine price, price labeled marker, hand tool, business efficiency, product labeling, retail management, warehouse operations, small business solutions.
Hashtags: #LabelingMachines #PriceGun #PriceTagLabeller #RatePrinter #UnboxingGuide
Title: Comprehensive Guide on How to Use a Price Gun Price Tag Labeller Rate Printer Label 8 Digit – Unboxing and Setup
Introduction:
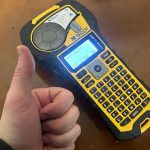
Price guns, also known as price tag labellers or rate printers, are essential tools for businesses to efficiently label and display prices or rates. This guide will walk you through the unboxing process and provide step-by-step instructions on how to use a price gun with an 8-digit label capacity. Follow these instructions carefully to ensure successful setup and optimal performance.
Materials Needed:
1. Price gun price tag labeller rate printer label 8 digit
2. Price labels
3. Ink roller
4. Instruction manual (provided with the product)
Step 1: Unboxing
1. Carefully open the packaging of the price gun, ensuring not to damage any components.
2. Remove all the contents from the box and place them on a clean, flat surface.
3. Verify that all the necessary components are included, including the price gun, ink roller, and instruction manual.
4. Keep the packaging materials in case you need to store or transport the price gun in the future.
Step 2: Loading the Ink Roller
1. Locate the ink roller compartment on the price gun.
2. Gently push the release button or lever to open the compartment.
3. Take the ink roller and insert it into the compartment, ensuring that it fits snugly.
4. Close the compartment securely until it clicks into place.
5. Test the ink roller by pressing the trigger or designated button to check if the ink is correctly applied.
Step 3: Loading the Price Labels
1. Identify the label compartment on the price gun.
2. Open the compartment by sliding the cover or pressing the release button, as specified in the instruction manual.
3. Take a stack of price labels and align them with the feeding path indicated inside the compartment.
4. Insert the stack of labels into the compartment, making sure they are properly aligned.
5. Close the compartment securely, ensuring that the labels are positioned correctly for smooth feeding.
Step 4: Initial Setup
1. Find the power button or switch on the price gun and turn it on.
2. Refer to the instruction manual to set the desired print format, date, time, and other relevant settings using the control buttons or display panel provided on the price gun.
3. Test the printing function by entering a sample price or rate and printing it on a label.
4. Inspect the printed label for legibility and alignment. Adjust the settings if necessary until you achieve the desired result.
Conclusion:
Congratulations! You have successfully unboxed and set up your price gun price tag labeller rate printer label 8 digit. With this comprehensive guide, you can now confidently use your price gun to label prices or rates effectively. Remember to refer to the instruction manual for any additional features or troubleshooting tips. Happy labelling!Labeling Machine
#price #gun #Price #Tag #labeller #Rate #printer #label #digit #unboxing
Related posts:
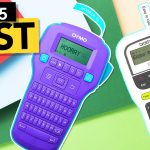 Top Handheld Label Makers for 2023: Ultimate Buyer’s Guide!
 Ultimate Tool Labeling Machine: Unparalleled Industrial Label Maker Innovation!
 “Revolutionary Beer Bottle Labeler: Unbeatable Speed and Precision for High-Speed Labeling”
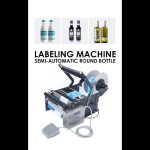
 Innovative Round Bottle Labeling Machine for Sale: Automated Glass Jar & Can Body Labeler
 Affordable Manual Round Bottle Sticker Labeling Machine – Unbeatable Value for Money
 “Revolutionary Round Bottle Labeling Solution: Enhanced Efficiency and Unique Design”
 “Innovative Labeling Machine for Small Businesses: My Preferred Shipping Label Printer”
 “Revolutionize Industrial Labeling with Epson’s Cutting-Edge LabelWorks PX Machines”
 Revolutionary Label Application Solution: The Next-Level OMICRON-3 Label Applicator
 “Effortlessly Label Round Bottles with ZONESUN’s Semi-Automatic Labeling Machine: Your Ultimate Buying Guide!”