Title: The Ultimate Guide to Manufacturing VTM Kits with Automatic Labeling Machines
Description:
Welcome to our comprehensive guide on manufacturing VTM kits using automatic labeling machines. In this video, we will walk you through the entire process, from understanding the importance of labeling machines for VTM kit manufacturing to the step-by-step procedure of manufacturing VTM kits using automatic labeling applicators.
Introduction:
In this video, we dive deep into the world of labeling machines for sale and specifically focus on their application in VTM kit manufacturing. Whether you’re new to the industry or looking to enhance your knowledge, this guide is packed with valuable insights and practical tips.
Video Content:
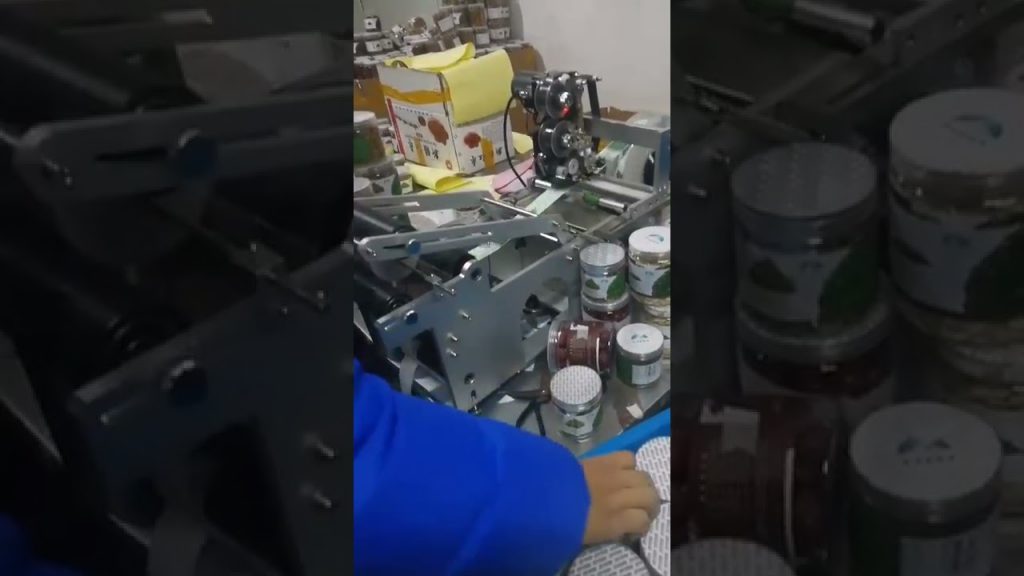
1. Understanding the Significance of Labeling Machines: We start by explaining the vital role that labeling machines play in the manufacturing process of VTM kits. Discover how these machines ensure accurate and efficient labeling, improving productivity and product quality.
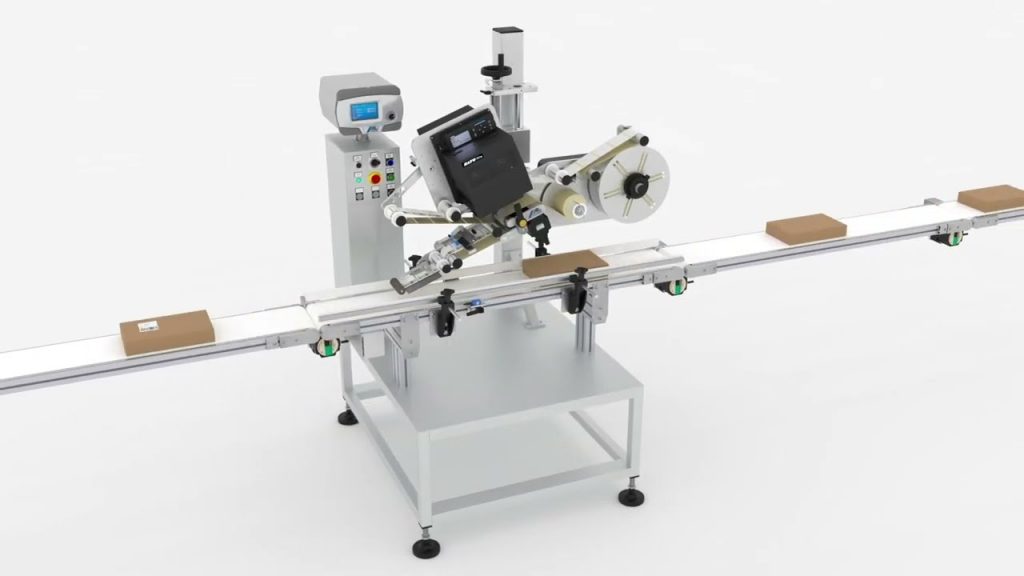
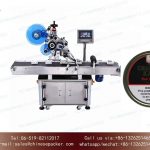
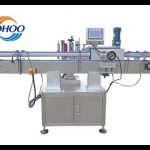
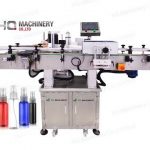
2. Exploring Automatic Labeling Machines: Uncover the features and benefits of automatic labeling machines specifically designed for VTM kit manufacturing. Learn about their advanced functionalities, such as precise label placement and high-speed operation, which streamline the production process.
3. Step-by-Step Guide to Manufacturing VTM Kits: Follow along as we provide a detailed walkthrough of the manufacturing process. From preparing the labeling machine to labeling each component of the VTM kit, we cover every essential step to help you achieve optimal results.
4. Key Highlights and Interesting Facts: Throughout the video, we highlight interesting facts and insights related to VTM kit manufacturing. Discover industry trends, innovative techniques, and best practices that can enhance your understanding and expertise in this field.
Call to Action:
If you found this video helpful, please consider liking, subscribing, and sharing it with others who may benefit from this valuable information. Don’t forget to hit the notification bell to stay updated with our latest content.
Additional Tags and Keywords:
Labeling machine, automatic labeling machine, VTM kit manufacturing, labeling applicator, manufacturing process, labeling techniques, labeling solutions, labeling equipment, VTM kit components, labeling accuracy, industrial labeling.
Hashtags:
#LabelingMachine #AutomaticLabeling #VTMKitManufacturing #LabelingApplicator #ManufacturingProcess
Title: Guide to Manufacturing a VTM Kit: Automatic Labeling Applicator
Introduction:
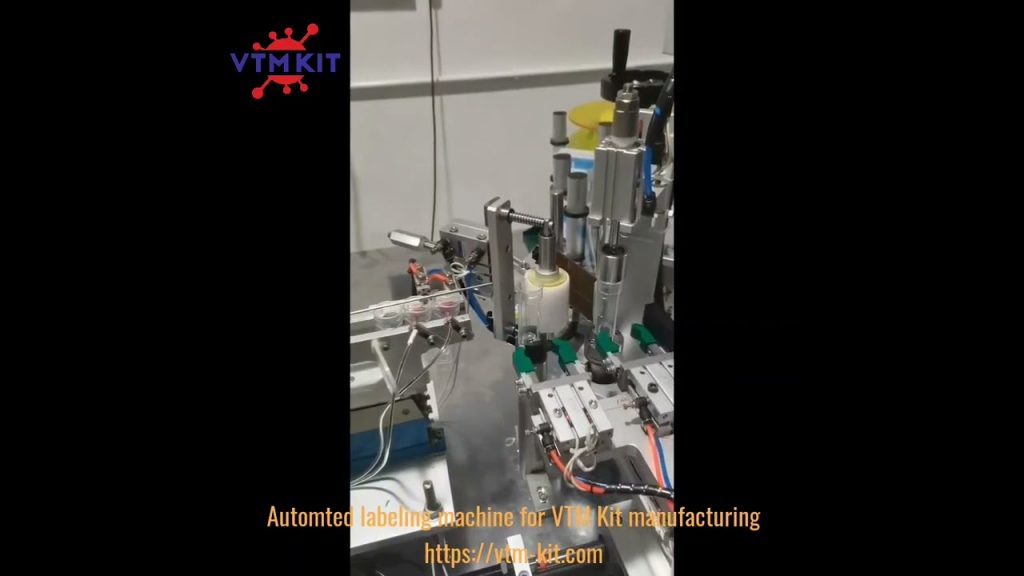
An automatic labeling machine is an invaluable tool for businesses that require efficient and accurate labeling of their products. In this guide, we will focus on manufacturing the VTM (Vertical Tilt Module) kit, which enables automatic labeling applicators to label products on a vertical axis. The VTM kit ensures precise and consistent application, enhancing productivity and reducing human error. This guide will provide step-by-step instructions for manufacturing a VTM kit for an automatic labeling machine.
Materials Required:
1. Aluminum or stainless-steel frame
2. Stepper motor or servo motor
3. Timing belt and pulleys
4. Linear guide rails
5. Labeling head assembly
6. Sensor for product detection
7. Control system (PLC or microcontroller)
8. Power supply unit
9. Wiring and connectors
10. Mounting brackets and fasteners
Step 1: Frame Construction
– Assemble the aluminum or stainless-steel frame according to the provided design specifications.
– Ensure the frame is sturdy and capable of supporting the weight of the labeling head assembly.
Step 2: Motor and Pulleys Installation
– Mount the chosen stepper motor or servo motor onto the frame securely.
– Install the timing belt and pulleys, ensuring proper alignment and tension for smooth movement.
Step 3: Linear Guide Rails Installation
– Attach the linear guide rails to the frame vertically, ensuring they are parallel and aligned with the motor shaft.
– These guide rails will allow the labeling head assembly to move up and down smoothly.
Step 4: Labeling Head Assembly
– Install the labeling head assembly onto the linear guide rails.
– Ensure the assembly can move freely along the rails and is securely fastened.
Step 5: Product Detection System
– Mount the sensor for product detection near the labeling area.
– Connect the sensor to the control system for accurate detection of product presence.
Step 6: Control System Integration
– Connect the control system (PLC or microcontroller) to the motor, sensor, and labeling head assembly.
– Program the control system to manage the labeling process, including speed, labeling position, and synchronization with product detection.
Step 7: Power Supply and Wiring
– Connect the power supply unit to the control system, motor, and sensor.
– Ensure proper wiring and grounding for safe operation.
Step 8: Mounting and Final Adjustments
– Attach the VTM kit to the automatic labeling machine, following the manufacturer’s instructions.
– Make necessary adjustments to achieve accurate labeling position and smooth operation.
Conclusion:
Manufacturing a VTM kit for an automatic labeling applicator involves assembling a sturdy frame, incorporating a motor, guide rails, labeling head assembly, product detection system, and control system. By following this step-by-step guide, you can successfully manufacture a VTM kit that enhances the efficiency and accuracy of your automatic labeling machine.Labeling Machine
#Automatic #Labeling #Machine #Machine #Manufacture #VTM #Kit #Automatic #Labeling #Applicator
Related posts:
 Innovative Bottle Labeling Machine Revolutionizes Labelling Process for Plastic Containers
 “Affordable Small Bottle Labeling Machine: Innovative and Cost-Effective Solution for Precise Labeling”
 “Innovative Sticker Label Applicators: Unbeatable Lid Labeling Machine on Sale!”
 “Effortless Round Bottle Labeling: High-Speed Adhesive Machine for Sale (12-38 meters/m)”
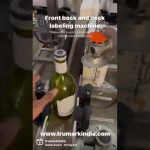 Unique Labeling Machine for Bottles: Front, Back, and Neck Labeller #Shorts
 “Innovative Bottle Labeling Machine: Enhanced Efficiency with Coding Printer for Precise Labeling”
 “Affordable Sticker Label Applicators: Unveiling Optimized Prices for Automatic Vial Labeling Machines”
 “Innovative Gallon Jug Label Applicator: Simplify Bottle Labeling with the LabelMill LM1005”
 “Ultimate Labeling Machine Review: A Comprehensive Look at the Phomemo Mini Printer for Labels”