Check out our recommended Shrinking Machine Reviews for the best coil packing solution!
If you’re not familiar with running wires and connecting to the mains supply, you may be hesitant to try out a shrinking machine. But don’t worry, we’ve got you covered! In this article, we’ll give you a step-by-step guide on how to use a shrinking machine for less than 100€. So, let’s dive in!
Before we begin, let’s talk a bit about shrinking machines. These machines are used to shrink-wrap various products, providing them with a protective layer and ensuring their safety during transportation and storage. They are especially popular in industries such as manufacturing, logistics, and retail.
Now, let’s move on to the main topic – using a shrinking machine for less than 100€. Here’s a breakdown of the steps involved:
Step 1: Choosing the right shrinking machine
There are various shrinking machines available in the market, each with its own features and capabilities. To find the best one for your needs, it’s important to read Shrinking Machine Reviews. These reviews provide valuable insights into the performance, durability, and user-friendliness of different machines. Look for one that fits your budget and requirements.
Step 2: Setting up the machine
Once you have your shrinking machine, it’s time to set it up. Make sure to carefully read the user manual and follow the instructions provided. This will ensure that you connect the machine to the mains supply correctly and avoid any potential hazards.
Step 3: Preparing the products for shrink-wrapping
Before you can start shrink-wrapping, you need to prepare the products. Make sure they are clean, dry, and free from any debris. Additionally, consider using appropriate packaging materials such as shrink film or shrink bags.
Step 4: Operating the shrinking machine
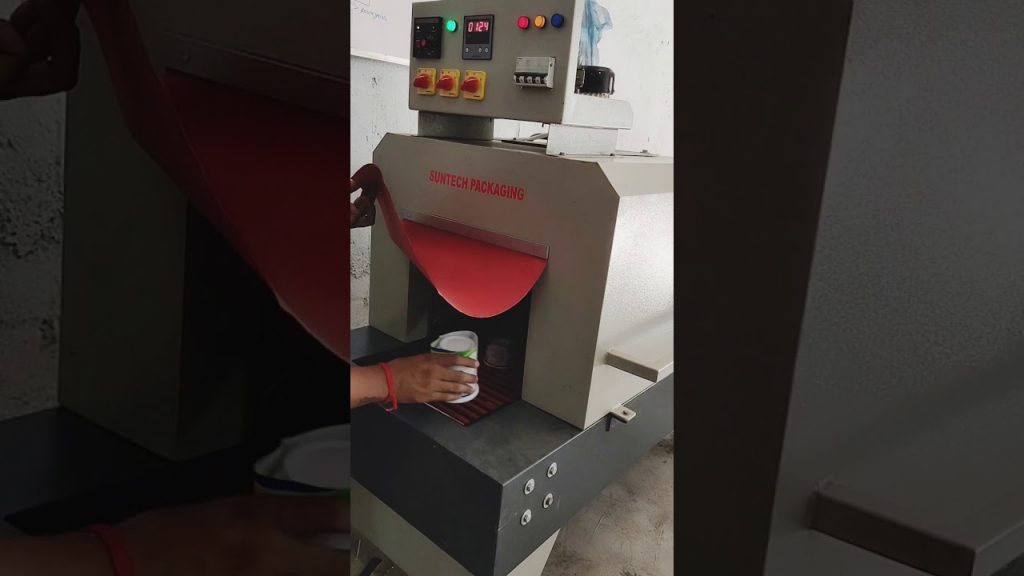
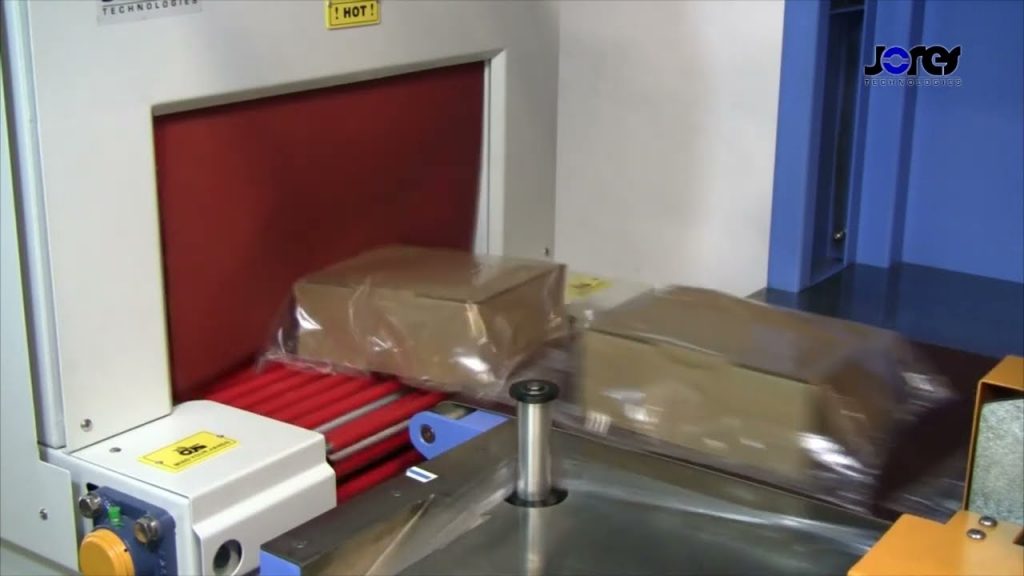
Now comes the exciting part – operating the shrinking machine! Depending on the type of machine you have, the process may vary slightly. However, the general steps involve placing the product inside the shrink film, sealing the edges, and activating the heat to shrink the film tightly around the product.
Step 5: Inspecting the shrink-wrapped product
After the shrinking process is complete, it’s important to inspect the shrink-wrapped product for any defects or irregularities. This will ensure that the product is properly protected and ready for transportation or storage.
And there you have it – a simple guide on how to use a shrinking machine for less than 100€! With a little practice and attention to detail, you’ll become a pro in no time.
In conclusion, shrinking machines are a valuable tool for businesses in various industries. They provide a cost-effective and efficient way to protect products during transportation and storage. By following our guide and reading Shrinking Machine Reviews, you can find the perfect machine for your needs and start shrink-wrapping like a pro.
Check out our recommended Shrinking Machine Reviews for the best coil packing solution. Don’t miss out on the opportunity to enhance your packaging process and ensure the safety of your products. Get started today! Shrinking Machine
“Efficient DIY Tool Shrinker under €100: Ultimate Review of Shrinking Machines”
Related posts:
 “Effortless Packaging with the Advanced Semi-Automatic Shrinking Solution”
 “High-Speed Shrink Wrapping Machine Supplier in India: Unmatched Efficiency for 120 to 240 bpm”
 Ultimate Heavy Duty Bus Bar Sleeve Shrinking Machine – Top Choice for Efficient Shrinkage | Call 9820778501
 Maximize Efficiency: Mastering Heat Shrink Wrapping – Unveiling the Workings of Shrink Wrap Machines
 Innovative Semi-Automatic Shrink Wrapping Solution for Efficient Box Packaging
 “Efficient High-Speed Water Bottle Shrink Wrapping Machine for Quick Packaging – 9820778501”
 “Innovative Heat Shrink Machine: Efficient and Unique Solution for Packaging Needs”
 “Enhanced Pharmaceutical Packaging Solution: Next-Gen Industrial Shrink Wrapping Machine for Optimal Efficiency.”
 “Revolutionary Bread Packaging Solution: Next-Gen Automatic Shrink Machine for Unmatched Efficiency”
 “Efficient Heat Shrink Machine: Canada Customer’s Box Commissioning Video #Shorts”